Trace the path of mining contaminants
View the map
To identify areas that may be contaminated by mining runoff, first you'll open a map that shows possible mining sites.
- Go to the Trace downstream from mines item page.
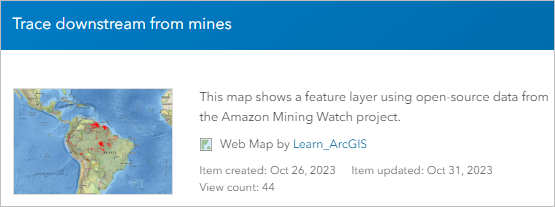
This is the item description page for a map showing mining sites in the Amazon. You will use this map to identify a mining site and trace downstream from it.
- On the ribbon, click Sign In. Sign in with your ArcGIS organizational account.
Note:
You must sign in because you will be creating data in your account.
- At the top of the item page, click Open in Map Viewer.
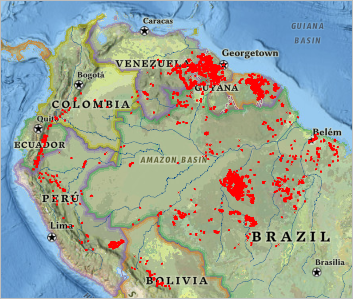
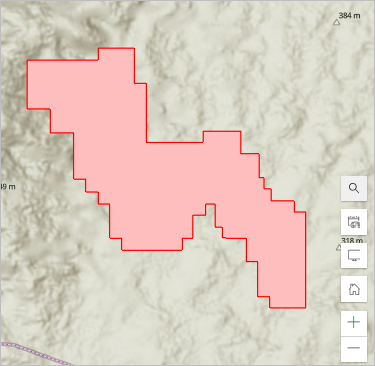
A map of the Amazon basin appears, with red patches showing sites identified by the Amazon Mining Watch machine learning algorithm as being probable mining sites. Note that not all of the sites are mine sites, and not all mining sites are detected. You can read more about interpreting the results.
Zoom to a mining site
Now you'll zoom in and view a mining site. This map has two bookmarks at places where mining has been detected. You will view one of them now.
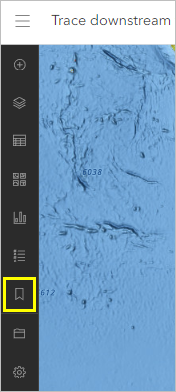
- On the Contents toolbar, click Bookmarks.
- On the Bookmarks pane, click Mining site 1.
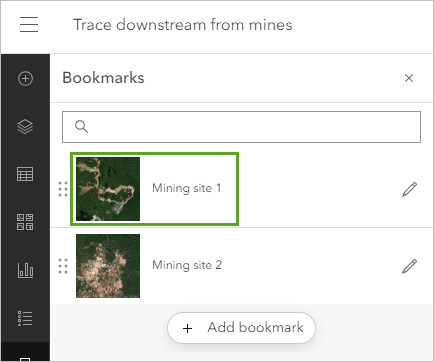
The map zooms to the bookmarked location.
Next, you'll change the basemap to view imagery of the site.
- On the Contents toolbar, click Basemap.
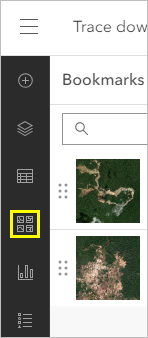
The Basemap pane appears. ArcGIS Online includes a number of basemaps to provide context for your data.
- In the Basemap pane, click Imagery to switch to the Imagery basemap.
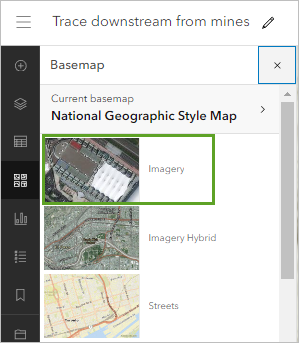
The basemap changes to the Imagery basemap.
The mining site is hidden by the mine_locations feature layer.
- On the Contents toolbar, click Layers.

The Layers pane appears.
- In the Layers pane, point to the mine_locations layer, and when the Visibility indicator appears, click it to hide the layer.
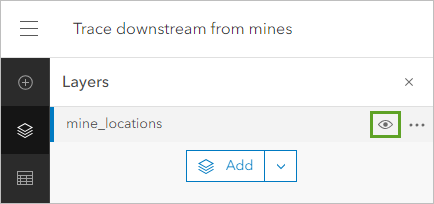
The mine_locations layer is hidden, and you can see the mining site on the Imagery basemap.
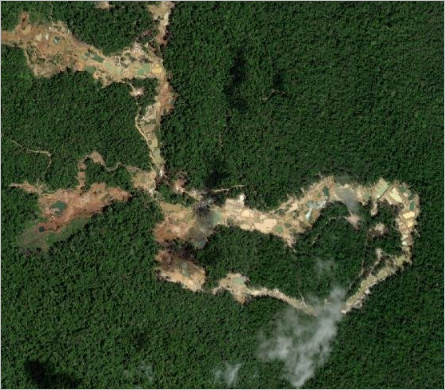
This site shows a pattern of forest clearing, pool construction and flooding, and various colors of ponds caused by different water depths, sediment levels, and chemical treatments. Contaminated water and sediments from these sites can leak into waterways. In the next section, you will make a point at this site, which you will use to trace the flowpath downstream.
Add points to mark sites
The first parameter for the Trace Downstream tool is a point feature or point features that show where you want to start your trace. These points will be used as the starting location for each downstream trace line. You can choose either to use an existing feature layer, or to draw the locations on the map.
- On the Settings toolbar, click Analysis.
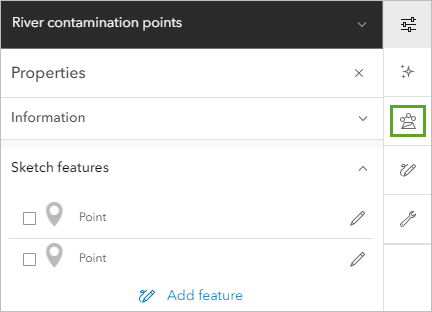
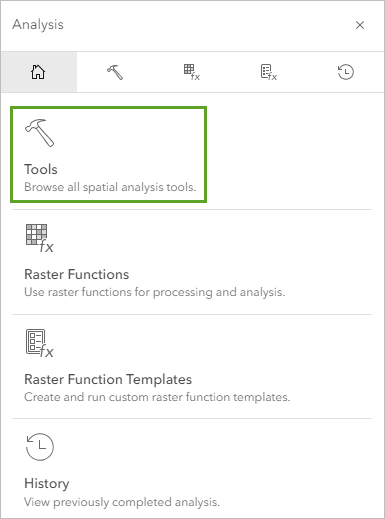
- In the Analysis pane, click Tools.
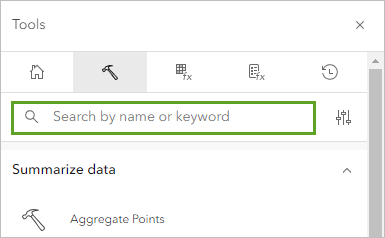
- In the Tools pane, click in the Search box.
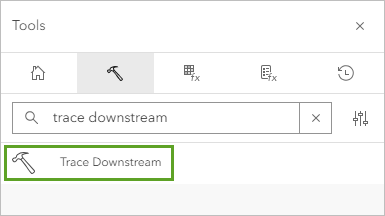
- In the Search box, type trace downstream.
- In the search results, click Trace Downstream.
- On the Trace Downstream tool, in the Input layer section, click the Draw input features button.
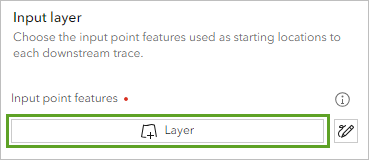
Your cursor changes to crosshairs. Now you can place points on the locations where you want to run your trace.
- Move the pointer over one of the pools on the site, and click to add a sketch point.
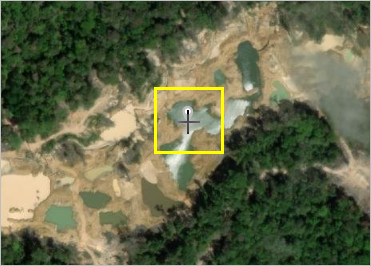
The point shows with a marker on the map.
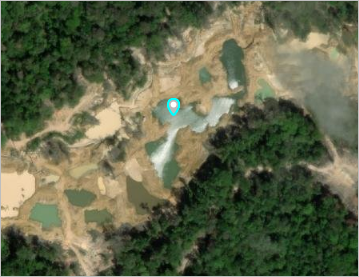
You've added a point to mark this site. Next you'll zoom to another site and add another point.
- On the Contents toolbar, click Bookmarks.
- In the Bookmarks pane, click Mining site 2.
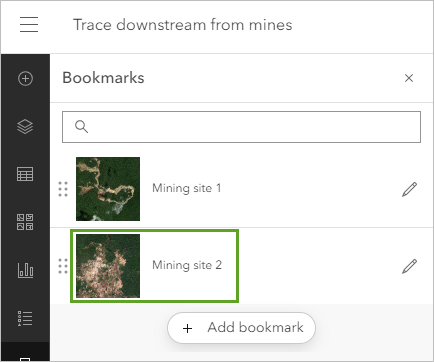
The map zooms to the second site.
Now you'll add another point.
- Move the pointer over one of the pools on the site, and click to add a sketch point.
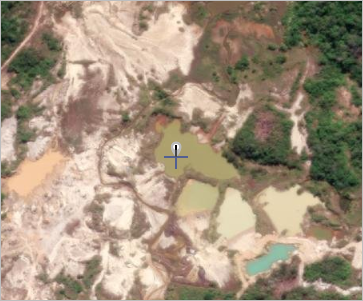
You've added points to mark two mining sites.
Trace downstream from the points
You've identified two locations at mines and you are now ready to trace downstream from them to identify the flow paths that mining contaminants will follow.
- In the Input layer window, confirm that Input point features shows Trace Downstream Input Point Features Sketch (Points) and that the Count of features is 2.
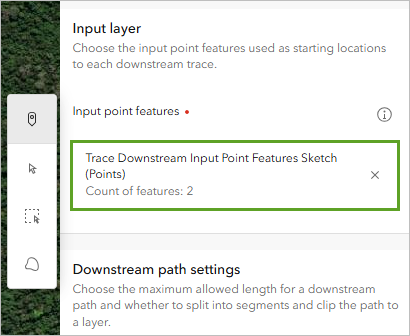
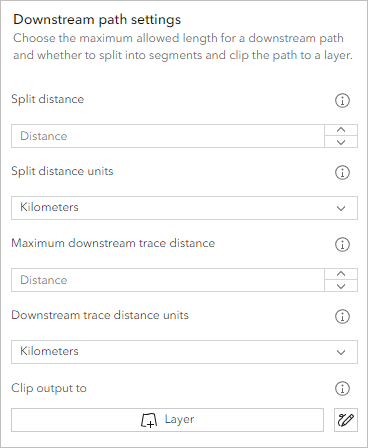
Next, you can choose settings for the downstream path of the line. Depending on how you intend to use the analysis, you can choose to split the line into equidistant segments, choose a specific trace distance, and clip the output to a specific area. For example, if you had water quality monitoring equipment that had a certain signal range, you could use that range as a maximum distance value. Or, if you only wanted to trace to your municipal or state boundary, you could choose to clip the output using a boundary layer. In this case, you want to follow the full path of potential mining contaminants, so you won't use these settings.
- Accept the default values for the Downstream path settings.
Next, you'll name the output layer.
- In the Results layer section, for Output line feature, type River Contamination and your initials.
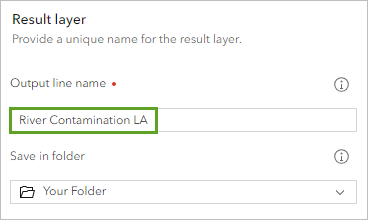
You cannot create two layers in an ArcGIS organization with the same name. Adding your initials to a layer name ensures that other people in your organization can also complete this tutorial. Once a layer has been created, you can rename it in the map to remove your initials, which will not affect the name of the underlying data layer.
Some tools consume credits when they run, but the Trace Downstream tool does not, so you do not need to click Estimate credits.
- Click Run.
After a few seconds, a message will appear that the process succeeded. You can check the progress of the analysis tool on the History tab. The History tab records all the analysis tools that you've run in the map.

- On the Contents toolbar, click Layers.
When the tool finishes, the new River Contamination layer with your initials is added to the Layers pane.
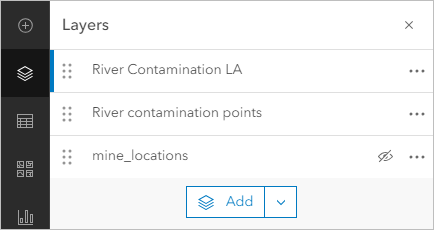
- In the Layers pane, for the River Contamination layer, click the options button and click Zoom to layer.
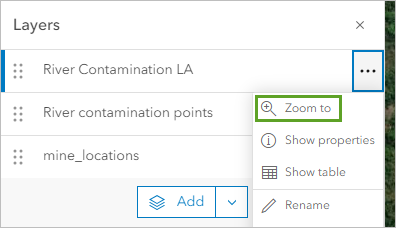
The map zooms to show the two features in this layer.
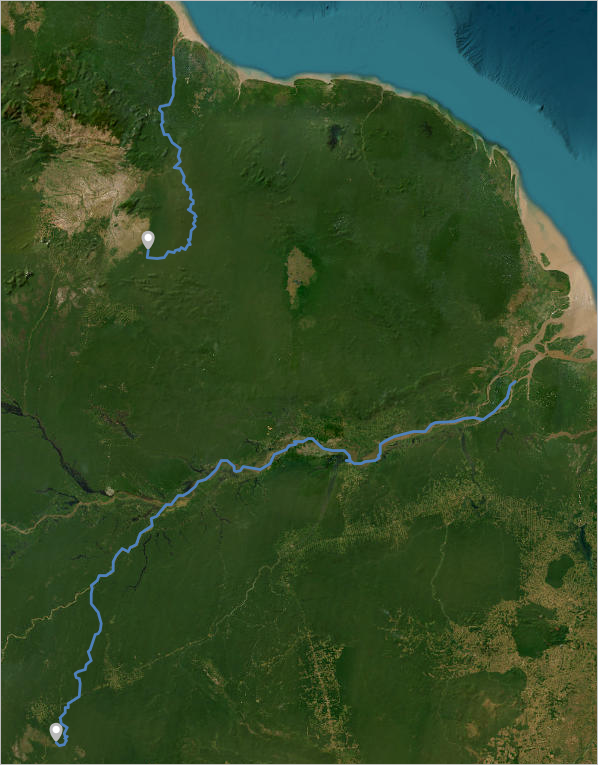
- On the map, click one of the trace results.
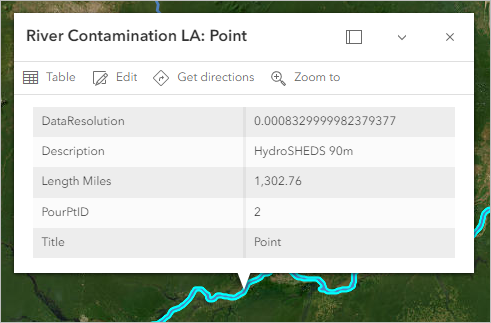
A pop-up shows the length of the trace downstream and the ID of the point. The Description column shows what data was used to generate the trace line. Because your area of interest is in South America, the HydroSHEDS 90m raster product was used. The Length Miles field reports how long the trace line is. If you don't specify a unit of measurement in the tool, then the length calculation will default to using the units in your profile.
For more information about how the Trace Downstream tool works, visit the tool documentation.
In this tutorial, you learned how to use the Trace Downstream tool to find the paths that contaminants from mines take as they flow downstream. Using input point features or sketches, the Trace Downstream tool creates a hosted feature layer with lines. This information could be used in a presentation by your nonprofit.
You can find more tutorials in the tutorial gallery.

